It’s no secret around here how much I love Old Navy. (I know, I know…enough already, right?) Sorry! But not really. I love a good deal, and their clearance is hard to beat.
A few weeks ago I found this adorable Eiffel Tower graphic tee and I loved it. I instantly had a few outfit ideas in mind, so I scooped it up and was excited to bring it home. When I got home and re-tried on everything I bought (everyone else does that too, right?) I realized there were two small holes in the back. Ugh. I was kinda upset, but I only paid a few dollars for the shirt…so I realized I couldn’t be that bummed out. I looked the shirt over and decided I was going to try to save it.
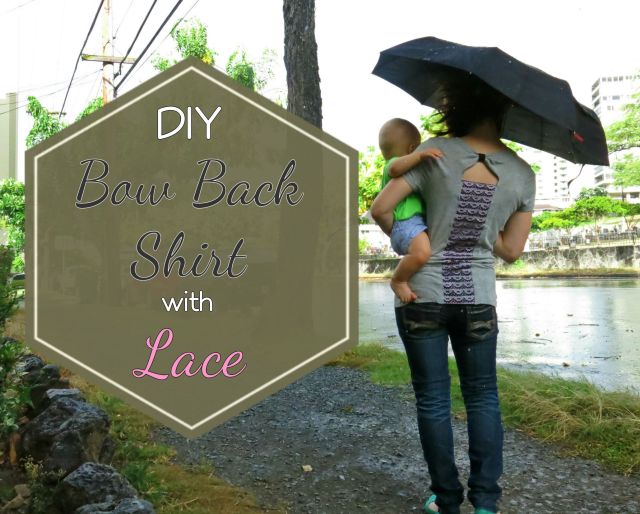
Now…I’m a total novice when it comes to anything sewing. I know pretty much absolutely nothing. I don’t own a sewing machine, and I’m pretty sure the sewing I do by hand is wrong. Can sewing be wrong? I really think mine is. Anyway, I decided I loved the idea of doing a bow back shirt because it can usually be done without sewing anything at all, which instantly sold me on the idea. When I looked at the back of the shirt again, I realized that the holes were a little too far down for a bow back to work and still be modest enough…so I went back to the drawing board. I came up with this! I love love love the lace with the subtle pink color behind it, and I still get to have the fun flirty bow I originally wanted! Plus it is still plenty modest and I don’t have to worry about being too exposed. And the best part…I did this all without sewing it.
So, here is how to do it! You will need:
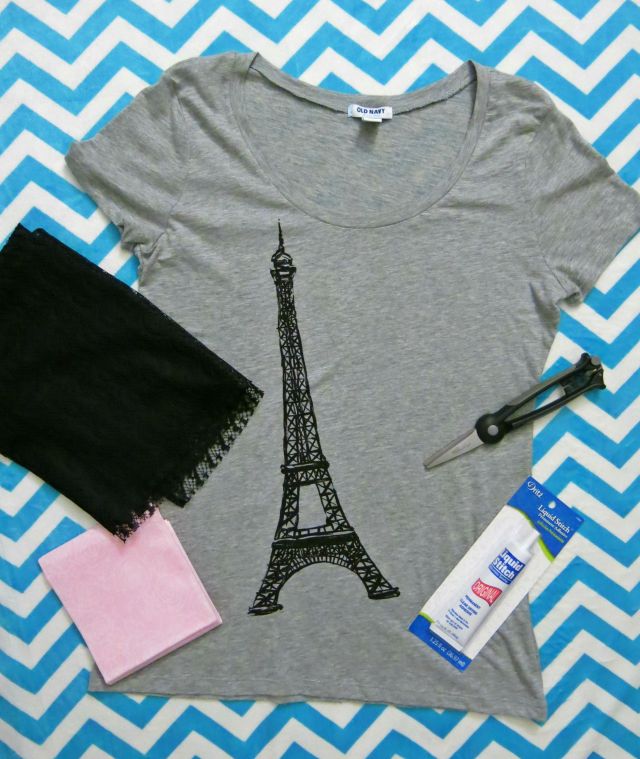
A t-shirt, lace, cotton fabric, a pair of scissors, and liquid stitch (original). Oh, and a ruler or tape measure of some kind will help you out a ton, but I guess it isn’t essential.
I got all of my supplies at Walmart, other than the shirt. The lace and cotton fabric were in the fabric section and were only a few dollars a piece, and the liquid stitch was just a few aisles over in the sewing section and was about $3. I love inexpensive DIYs!
The how:
Just to reiterate…I’m no expert, so I might be doing this wrong. I decided to just wing it, and I like how it turned out!
I went ahead and measured to find the middle of the shirt and lightly drew a line down the middle in pencil.
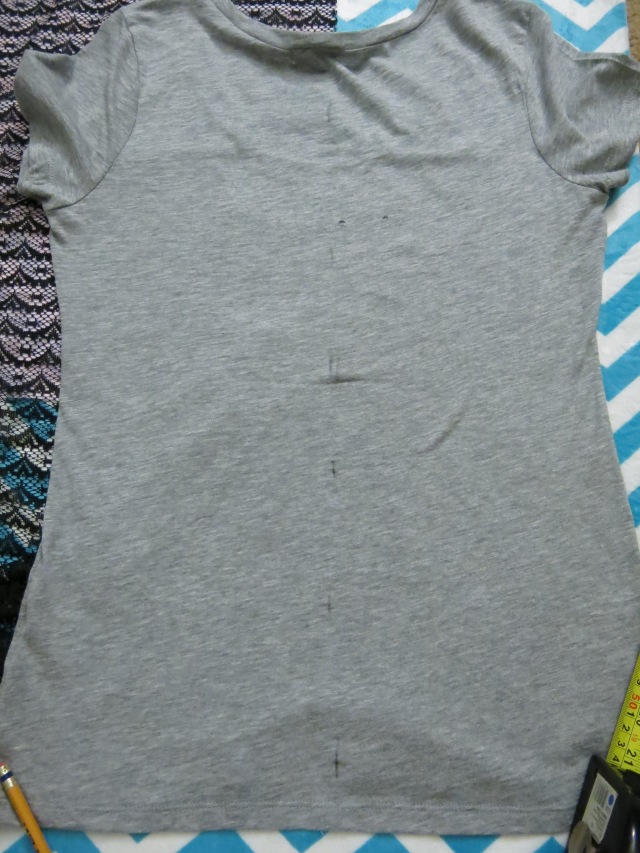
See the holes? They’ve gotta go!
Next, I decided how high up I wanted the lace to come. There was nothing technical about this. I eye balled it. Once I decided how high I wanted it, I lightly drew a horizontal line across the back where I was going to stop cutting to allow for the bow. Then, I cut it. Actually it took me like 3 minutes to convince myself to do it. I was nervous I was going to mess it up!
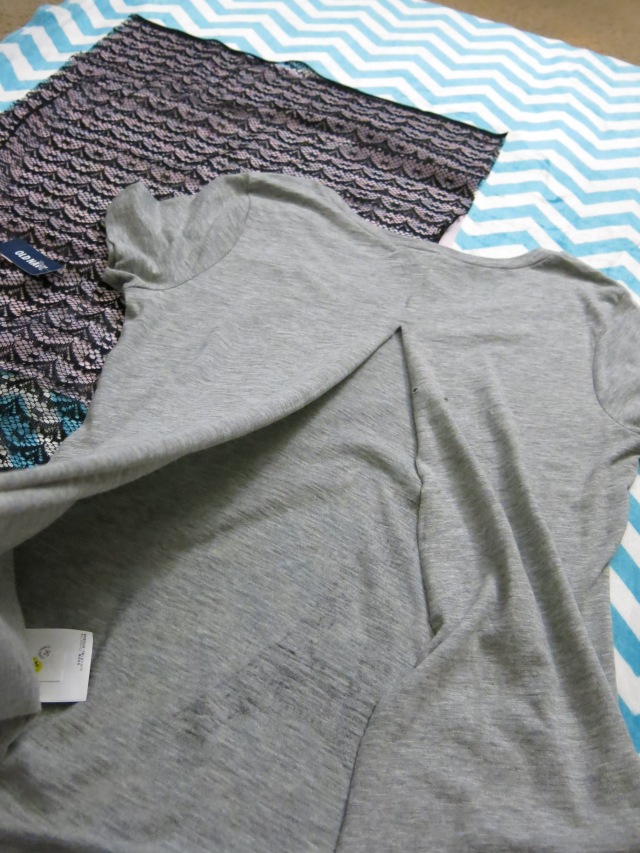
Bam! Did it!
You can’t see it here, but I DID NOT cut off the sides of the shirt. They are folded under, about 3 inches on each side.
After I cut the shirt, I decided how much lace I wanted showing in the back. I knew I wanted the shirt taken in about an inch on each side in addition to the alterations I was doing, so I decided I wanted about four inches of the lace overlay down the middle. I made sure to take into account the three inches of t-shirt on each side that I had measured as well.
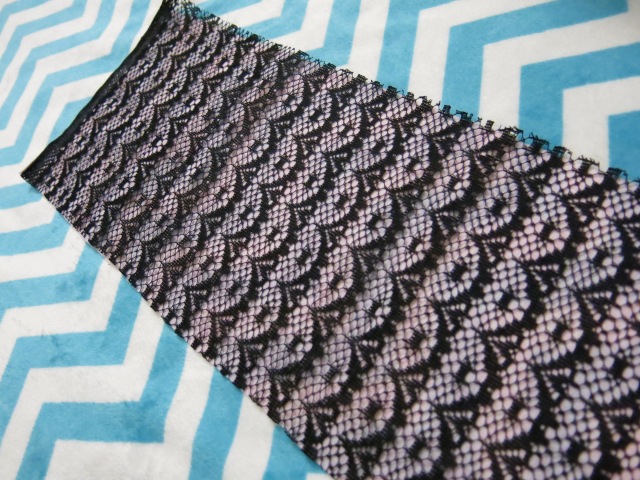
To make the lace and pink cotton fabric a little easier to work with, I glued one end of the lace down to the top of the fabric strip, and cut them both to be about 6 inches wide so I had some room to work with (aka in case I messed up a little).
Fancy angle photo! Haha, sorry y’all…I did this late at night. Sleepy Maria was the one taking the pictures.
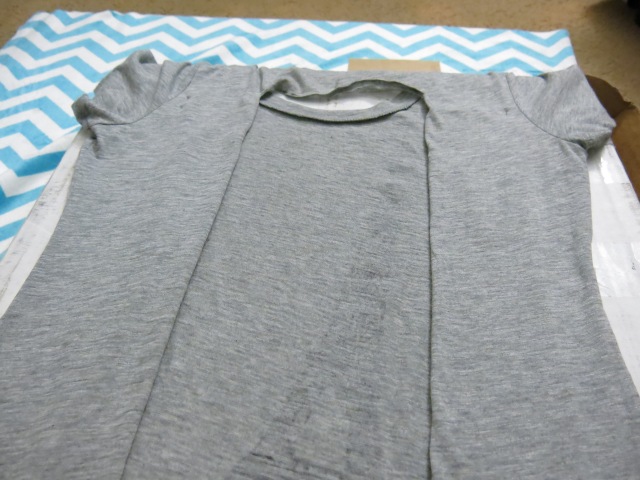
Once I had that somewhat secured, I made sure my shirt was the right side out…not inside out. I folded under the three inches of fabric on each side, just like you see in the picture above this one. I was going to attempt to do this all with the shirt inside out, but I knew I would mess it up that way. All I did from here was place the pink and black lace piece underneath the back of the shirt, lined up the lace pattern as I wanted it, and began to glue it down.
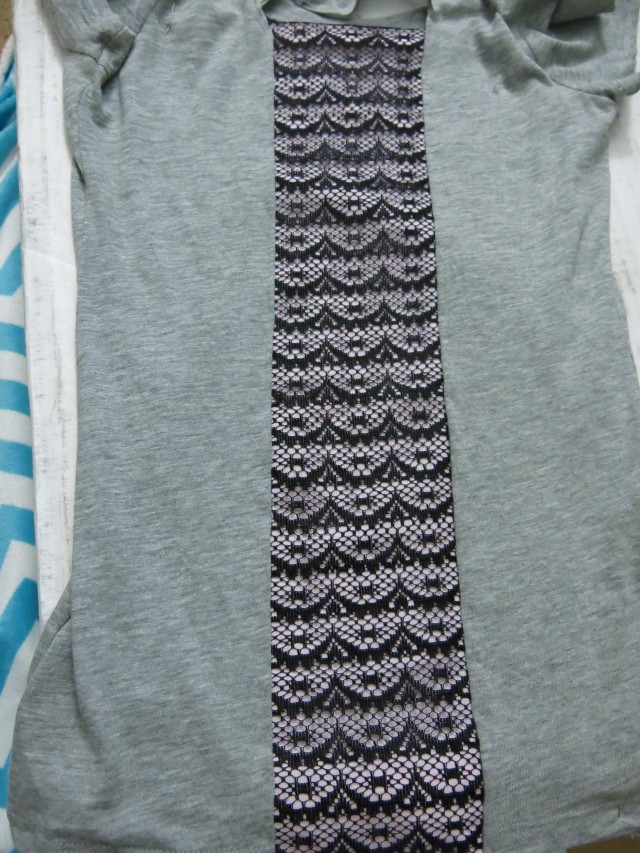
Everything all lined up…
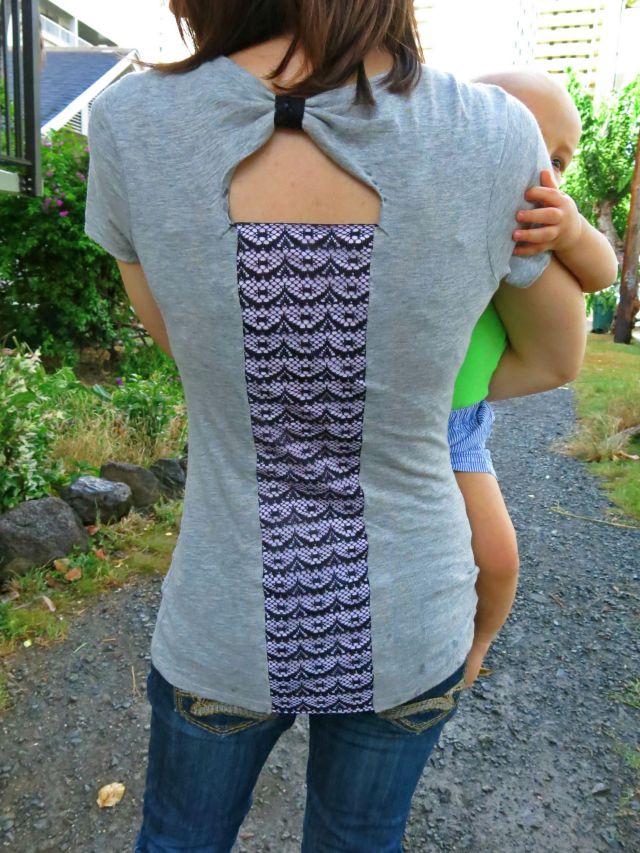
I put one thin line of glue down one side of the pink and black lace piece at a time, and lightly pressed down. Once I had both sides secure, I folded both the top and bottom flaps over and secured them with the liquid stitch as well. I glued down the seam at the top (which would become the bottom of my bow) just to give it a more polished look, and then I gathered the material at the top so the bow would look a little pleated. I wrapped a piece of lace around the bow to secure it, and then I did sew that by hand just to make sure it was completely secure (I didn’t trust the glue for that part). It turned out like this:
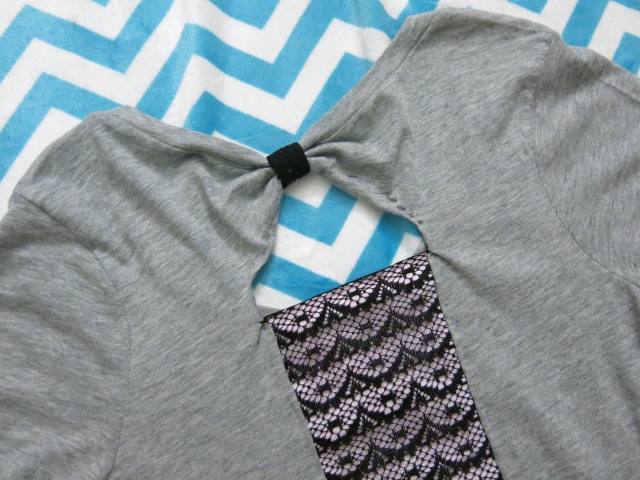
Pretty bow! Oh, I also used my needle and thread to tack down the sides just at the top of the lace to make it lay nicely.
The glue needs to dry for at least 30 minutes, but as I mentioned before, I did this just before bed so I let it dry overnight. Full disclosure: I’m almost positive that I’m going to bring this to one of my friends with a sewing machine so I can go over all of the seams, just to be safe. I really like the way this turned out and I want it to last! From everything I read online about the liquid stitch, it seems to be pretty common for it to loosen or detach in the wash. It seems like it’s a solid hold for things that wont be worn/washed all the time though. I wore this today though just being held together by the adhesive with no problems at all.
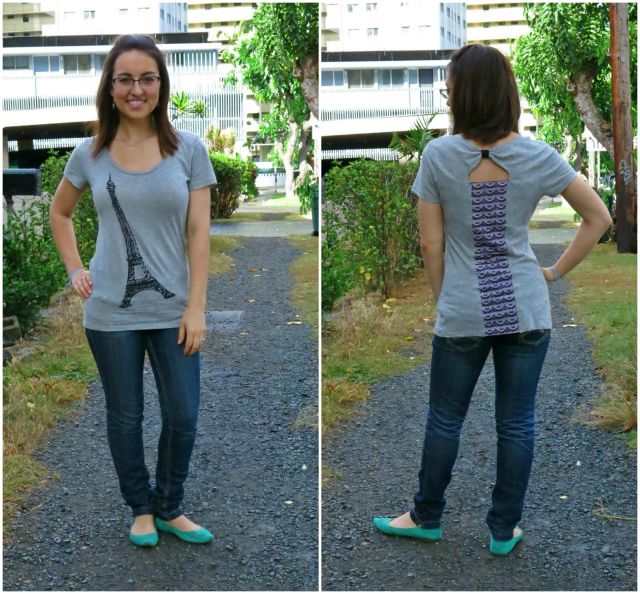
So there you have it! Finished, and no more pesky holes!
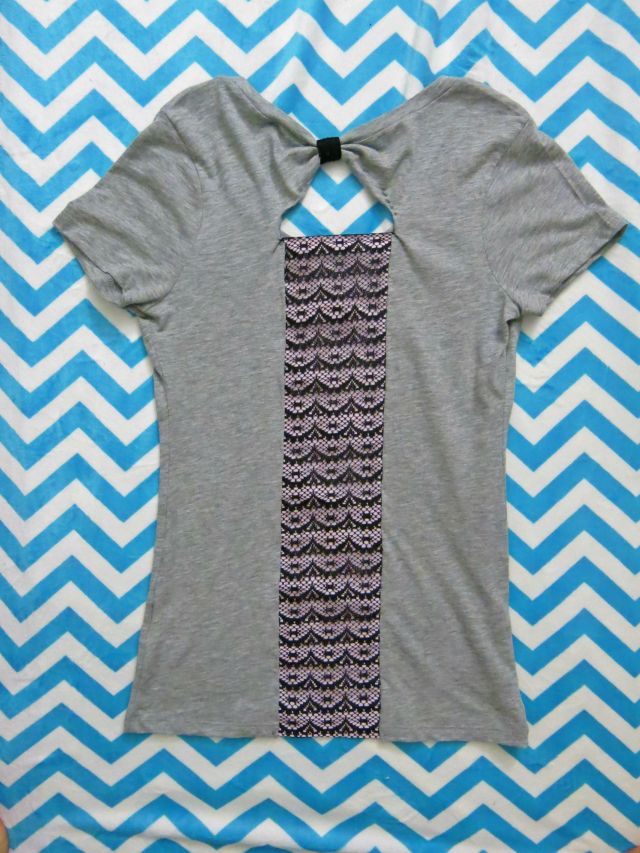
Ta-da!
You can dress this both up and down depending on how you’ll be spending your day. I wore it to work with nice black dress pants and some white heels, and then came home and got a little more comfortable with some cute skinny jeans and my favorite flats.
If you try an alteration like this I’d love to see it! Find me on social media (all my links are at the top right hand side of this page) and tag me!

Linking up today!
The Pleated Poppy//Get Your Pretty On//Transatlantic Blonde//Tucker Up//More Pieces of Me and On the Daily Express//Trend Spin//Stylish Tuesday//Mix It Monday//Tuesday Pretties//Let It Shine//Style Sessions
Moonlight and Mason Jars//Tattered to Taylored//Your Whims Wednesday//Wow Me Wednesday//Whip it up Wednesday//Inspire Me Wednesday//Treat Yo’ Self//Made By Me//The Project Stash//Crafty Thursday Obsessions//Artsy Corner//What You Wish Wednesday//Whatever Goes Wednesday//Worthwhile Wednesdays//Work It Wednesday


